

How to Identify and Replace Faulty Solenoid Valves in Sprinklers
Maintaining a sprinkler system can be challenging, especially when dealing with faulty components like solenoid valves. Solenoid valves are crucial in controlling water flow to different zones in your irrigation system. When these valves malfunction, they can cause significant issues, from dry patches to waterlogged areas. Understanding how to identify and replace faulty solenoid valves is essential for keeping your lawn healthy and your sprinkler system running smoothly.
Recognizing the Signs of a Faulty Solenoid Valve
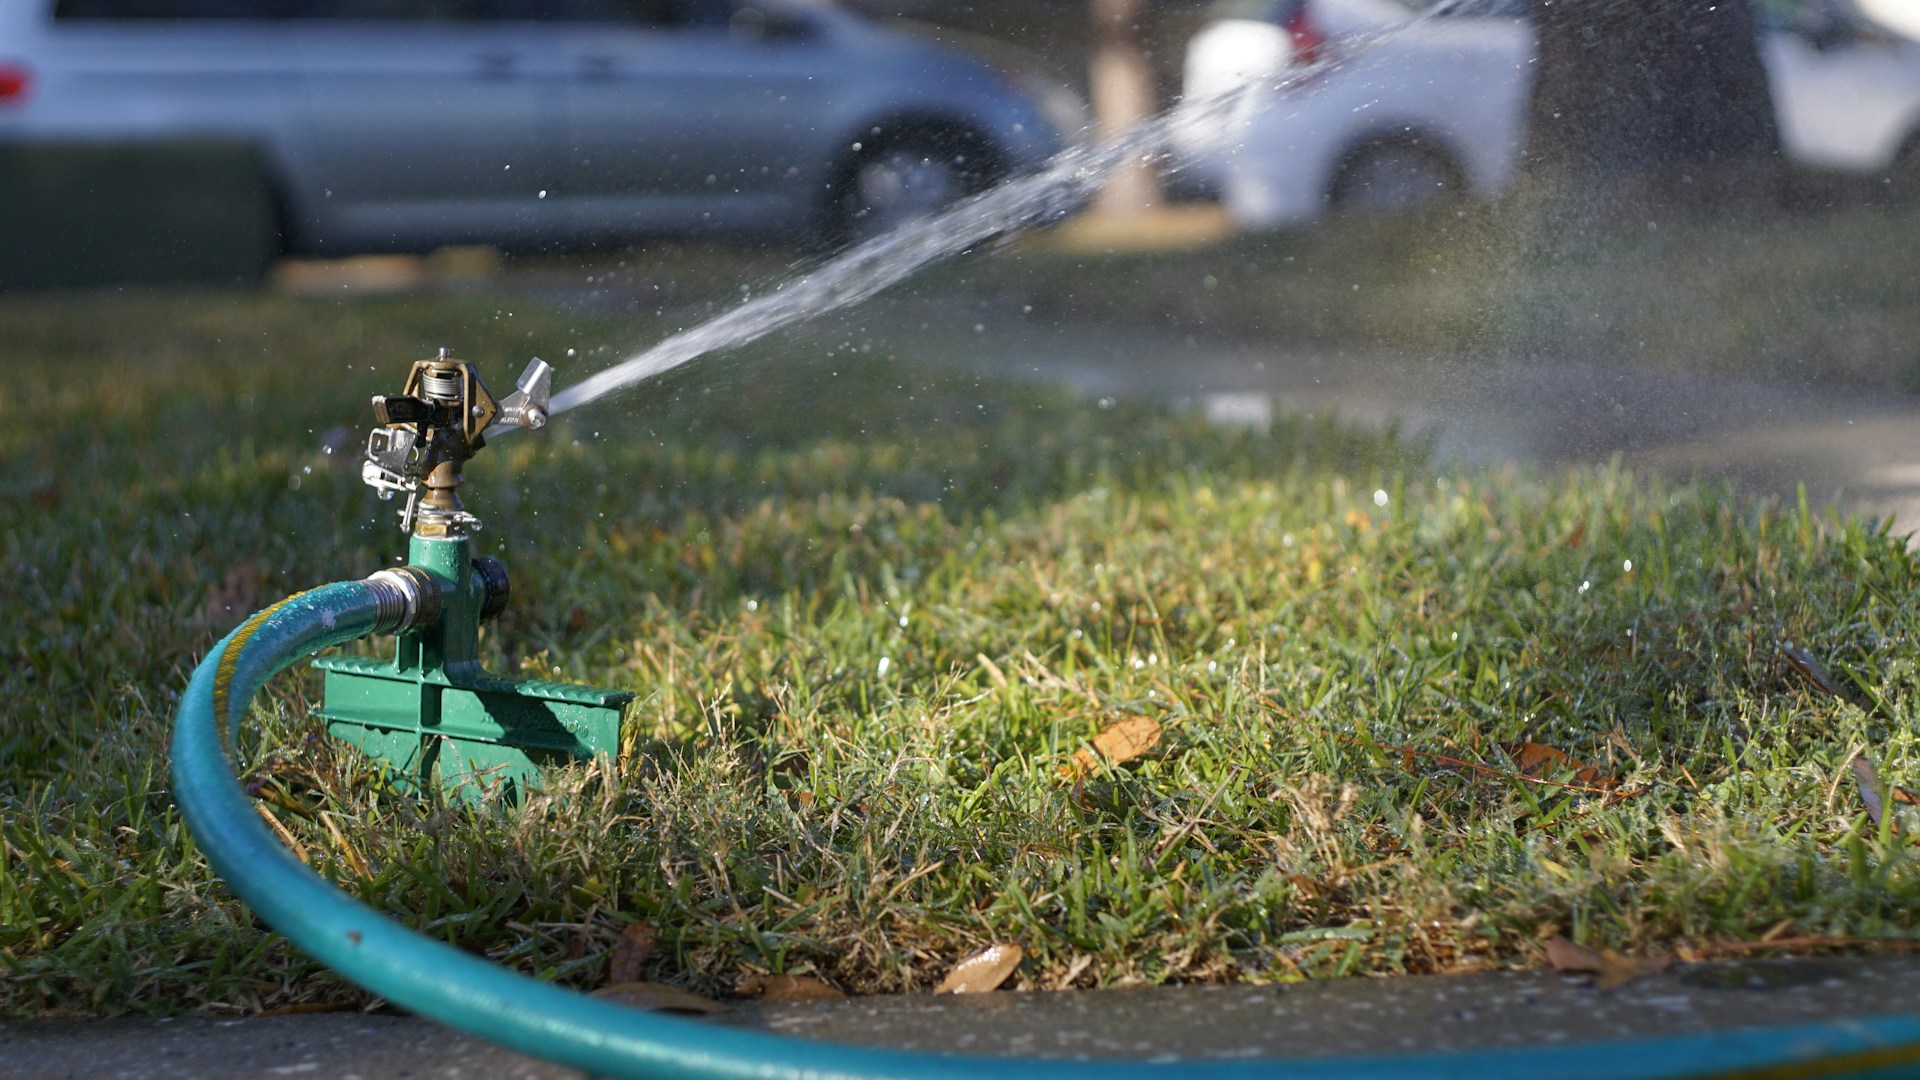
Identifying a faulty solenoid valve in your sprinkler system begins with observing changes in water distribution. One common sign is when certain zones are not receiving water, while others are functioning correctly. This inconsistency often points to a solenoid valve problem, where the valve is stuck open or closed, preventing the proper flow of water.
Another indication of a malfunctioning solenoid valve is unusual noises coming from the sprinkler system. If you hear buzzing or humming sounds when the system is operating, it might be due to a solenoid valve that is struggling to open or close. These sounds suggest that the valve’s internal components are wearing out or are already damaged.
Water leaks around the valve box are also a clear sign of solenoid valve issues. When a solenoid valve fails, it can cause leaks that lead to puddles or overly saturated areas in your lawn. Inspecting the valve box for any signs of water leakage can help pinpoint the faulty valve, allowing you to address the problem promptly.
Tools and Materials Needed for Replacement
Replacing a faulty solenoid valve requires specific tools and materials to ensure the job is done efficiently. One of the essential tools is a screwdriver, which will be used to remove and reattach various parts of the sprinkler system. Depending on your system’s design, you might need different types of screwdrivers, such as flathead or Phillips.
Another crucial tool is a pair of pliers. Pliers are necessary for gripping and turning parts that are difficult to manipulate by hand. They can also be useful for cutting wires or adjusting connections, making them an indispensable part of your toolkit for sprinkler system repair.
Additionally, you will need a replacement solenoid valve compatible with your existing system. It’s essential to choose a valve that matches the specifications of your sprinkler system to ensure proper fit and function. Having Teflon tape on hand is also beneficial for sealing threaded connections, preventing leaks, and ensuring a watertight seal.
Steps to Safely Shut Down the System
Before beginning any repair work on your sprinkler system, it’s crucial to shut down the system safely. Start by turning off the main water supply to the irrigation system. This step prevents any accidental water flow while you are working on the valves, ensuring a dry and safe working environment.
Next, shut off the power to the sprinkler system. This can usually be done by switching off the circuit breaker that controls the irrigation system. Cutting off the power eliminates the risk of electrical shocks when handling the solenoid valves and their wiring.
Finally, release any remaining water pressure in the system by manually opening one of the valves or running a zone for a short period. This step ensures that there is no residual water in the pipes that could spill out when you begin disassembling the system. Taking these precautions helps create a safe and manageable environment for performing the necessary repairs.
Removing the Faulty Solenoid Valve
With the system safely shut down, you can proceed to remove the faulty solenoid valve. Begin by locating the valve box, which is typically buried underground. Carefully remove the lid of the valve box to access the solenoid valves inside. It’s important to keep track of any screws or parts you remove to avoid losing them.
Once the valve box is open, identify the faulty solenoid valve. Disconnect the electrical wires connected to the solenoid, making sure to note their positions for reattachment later. Use a pair of pliers or a wrench to unscrew the solenoid valve from the valve body. Be gentle to avoid damaging the surrounding components or pipes.
After removing the faulty solenoid valve, inspect the valve body and the surrounding area for any debris or buildup that might affect the new valve’s performance. Cleaning the valve body ensures a secure and leak-free connection when you install the replacement solenoid valve. Proper preparation is key to a successful sprinkler system repair.
Installing the New Solenoid Valve
Installing the new solenoid valve is a straightforward process, but it requires attention to detail to ensure proper function. Start by applying Teflon tape to the threads of the new solenoid valve. This tape helps create a watertight seal and prevents leaks once the valve is installed.
Carefully screw the new solenoid valve into the valve body, ensuring it is securely tightened but not over-tightened, as this could damage the threads or the valve body. Use your pliers or wrench to achieve the right level of tightness. Once the valve is in place, reattach the electrical wires to the corresponding terminals on the new solenoid valve.
After connecting the wires, replace the lid on the valve box and secure it with any screws you removed earlier. Double-check that all connections are tight and secure before proceeding to the next step. Proper installation is crucial for the long-term reliability of your sprinkler system repair.
Testing the New Solenoid Valve
With the new solenoid valve installed, it’s time to test its functionality. Start by turning the water supply back on. Slowly open the main water valve to allow water to flow into the irrigation system. Check for any leaks around the valve box and the newly installed solenoid valve. If you notice any leaks, shut off the water supply and tighten the connections as needed.
Next, restore power to the sprinkler system by switching the circuit breaker back on. Use the sprinkler system’s control panel to activate the zone controlled by the new solenoid valve. Observe the sprinkler heads in that zone to ensure they are operating correctly and that the water distribution is even and consistent.
Finally, monitor the system for a few minutes to ensure there are no issues with the new solenoid valve. Listen for any unusual noises and check for proper operation. If everything appears to be working correctly, you can be confident that your sprinkler system repair was successful and that the new solenoid valve is functioning as intended.
Maintaining Your Sprinkler System
Regular maintenance is essential for preventing future issues with your sprinkler system. One important maintenance task is to inspect the solenoid valves periodically. Checking for signs of wear or damage can help you address minor issues before they become major problems.
Cleaning the valve box and the surrounding area is another key maintenance activity. Debris, dirt, and insects can accumulate in the valve box, potentially affecting the performance of the solenoid valves. Keeping the valve box clean helps ensure that the valves remain in good working condition and that your sprinkler system operates efficiently.
Additionally, consider scheduling annual inspections by a professional irrigation technician. These inspections can identify potential problems early and provide expert advice on maintaining your sprinkler system. Regular professional maintenance complements your efforts and helps extend the lifespan of your irrigation system.
Troubleshooting Common Solenoid Valve Issues
Sometimes, even with proper maintenance, solenoid valves can experience issues. One common problem is a valve that fails to open. This issue can often be traced back to electrical problems, such as a faulty connection or a damaged wire. Checking the wiring and connections can help resolve this issue and restore proper valve operation.
Another frequent problem is a valve that remains stuck open, leading to continuous water flow. This issue is often caused by debris or buildup inside the valve. Disassembling the valve and cleaning it thoroughly can usually resolve this problem. In some cases, replacing worn-out internal components might be necessary.
If you encounter persistent issues with a solenoid valve, it might be time to consider upgrading to a higher-quality valve. Some solenoid valves are designed to be more durable and resistant to common problems, providing a longer-lasting solution for your sprinkler system repair needs.
Conclusion
Identifying and replacing faulty solenoid valves in your sprinkler system is a crucial aspect of maintaining an efficient and reliable irrigation system. By recognizing the signs of a faulty valve, using the right tools and materials, and following proper procedures for replacement and testing, you can ensure that your lawn remains healthy and well-watered. Regular maintenance and troubleshooting can help prevent future issues, keeping your sprinkler system in optimal condition for years to come. Through careful attention to detail and a proactive approach, you can achieve a successful sprinkler system repair and enjoy the benefits of a well-maintained lawn.